Lathe Axis Misalignment: Causes, Diagnosis, and Repair
Share Post

Lathe axis misalignment is one of the most consequential — and most frequently misdiagnosed — problems in a machine shop. When a lathe’s axes are out of alignment, parts come out of round, tapered, or with unacceptable surface finish, even when the program, tooling, and operator technique are all correct. The machine is doing exactly what it’s told; it’s just not positioned correctly to do it accurately. Understanding the causes, symptoms, and field diagnosis process helps Southern California shops address axis misalignment before it becomes a scrap and rework crisis.
What Causes Lathe Axis Misalignment
Lathe misalignment develops from several sources, sometimes in combination:
- Wear: Headstock bearings, ways, and tailstock wear over time, gradually shifting the geometric relationship between the spindle axis and the carriage travel path.
- Thermal expansion: Lathes that run hot — particularly large lathes without adequate warm-up procedures — develop temporary misalignment as castings expand unevenly.
- Foundation movement: Floor settlement, vibration from adjacent equipment, or poor leveling allows the machine bed to twist or sag, directly affecting axis geometry.
- Crash damage: A crash event that overloads the spindle or carriage can shift headstock position or damage way surfaces in ways that aren’t immediately obvious.
- Improper reassembly: Misalignment following service or transportation is common when reinstallation procedures aren’t followed precisely.
Symptoms of Axis Misalignment
The most common symptom of lathe axis misalignment is taper — parts that are a different diameter at one end than the other when turned between centers or in a chuck. A taper of 0.001″ per inch of length is usually detectable with a micrometer and represents significant misalignment. Other symptoms include:
- Parts that are out of round (not cylindrical) when measured across multiple orientations
- Poor surface finish on turning cuts, particularly at specific tool positions along the carriage travel
- Facing operations that produce a slightly convex or concave face rather than a flat one
- Inconsistent bore diameters when boring to the same programmed dimension at different depths
- Tailstock center that doesn’t align with the headstock center when checked with a precision bar
Field Diagnosis Steps
A systematic diagnosis starts with excluding other causes — tool deflection, workholding error, and program issues — before attributing symptoms to misalignment. Once those are ruled out, the standard alignment check sequence is:
- Level the machine: Check bed twist with a precision level at multiple points along the ways. Any twist greater than 0.0002″/foot in the transverse direction warrants leveling adjustment.
- Check spindle runout: Measure spindle nose TIR with a test bar and indicator. This isolates headstock bearing condition from alignment issues.
- Turn an alignment test piece: Turn a precision test bar between centers and measure taper. The result quantifies misalignment and establishes the direction of correction needed.
- Check tailstock alignment: Verify the tailstock center aligns with the headstock center using a precision test bar supported between centers.
- Inspect way wear: Examine carriage way surfaces for uneven wear patterns that indicate the carriage is not traveling parallel to the spindle axis.
Repair Process
The repair approach depends on the cause and severity of misalignment. For leveling issues, adjustment of the machine’s leveling pads often restores alignment without further intervention. For headstock misalignment, precision shims or headstock adjustment mechanisms (present on many engine lathes) allow correction without disassembly. Way wear severe enough to affect alignment requires way grinding or scraping — a specialized process performed by companies that rebuild machine tools, often combined with a full machine overhaul.
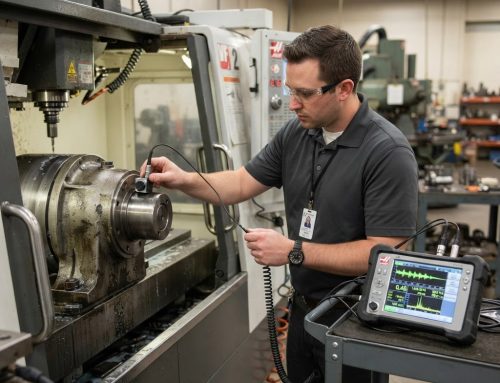
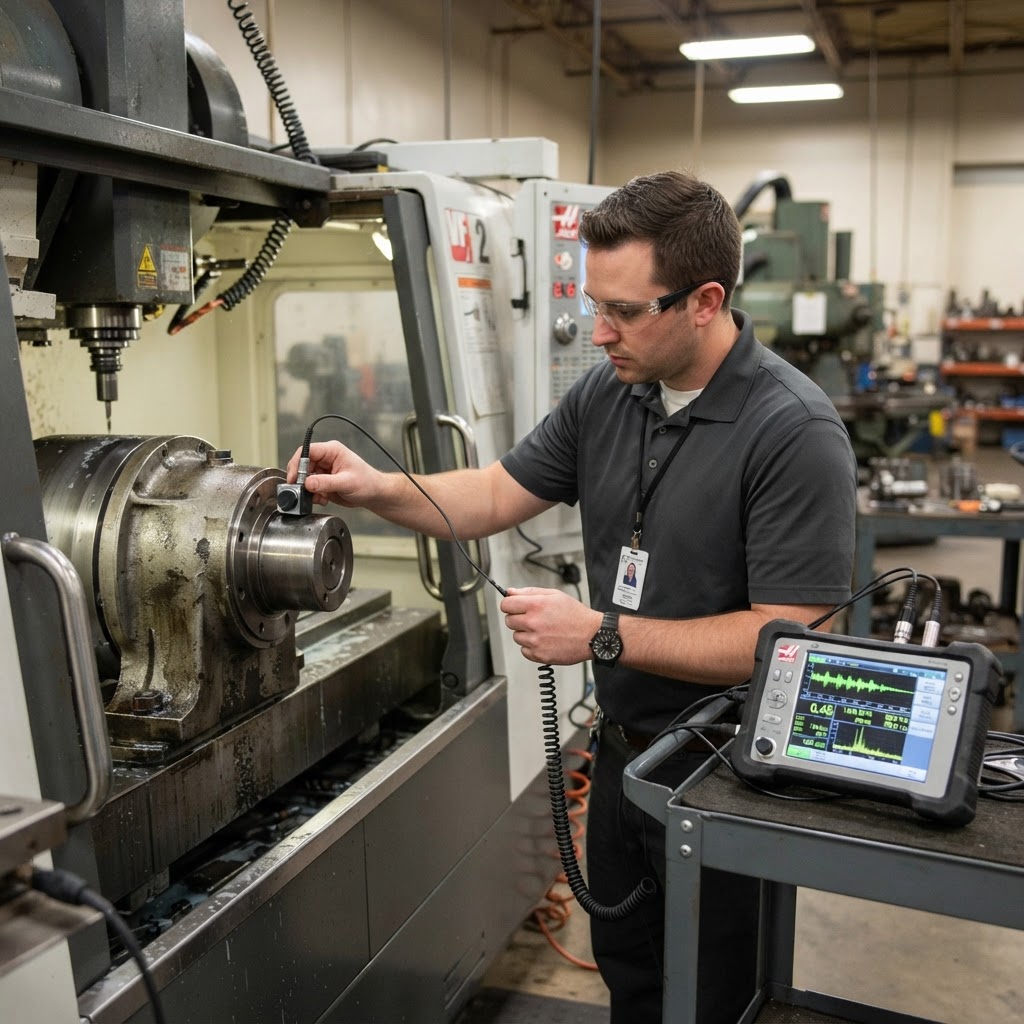
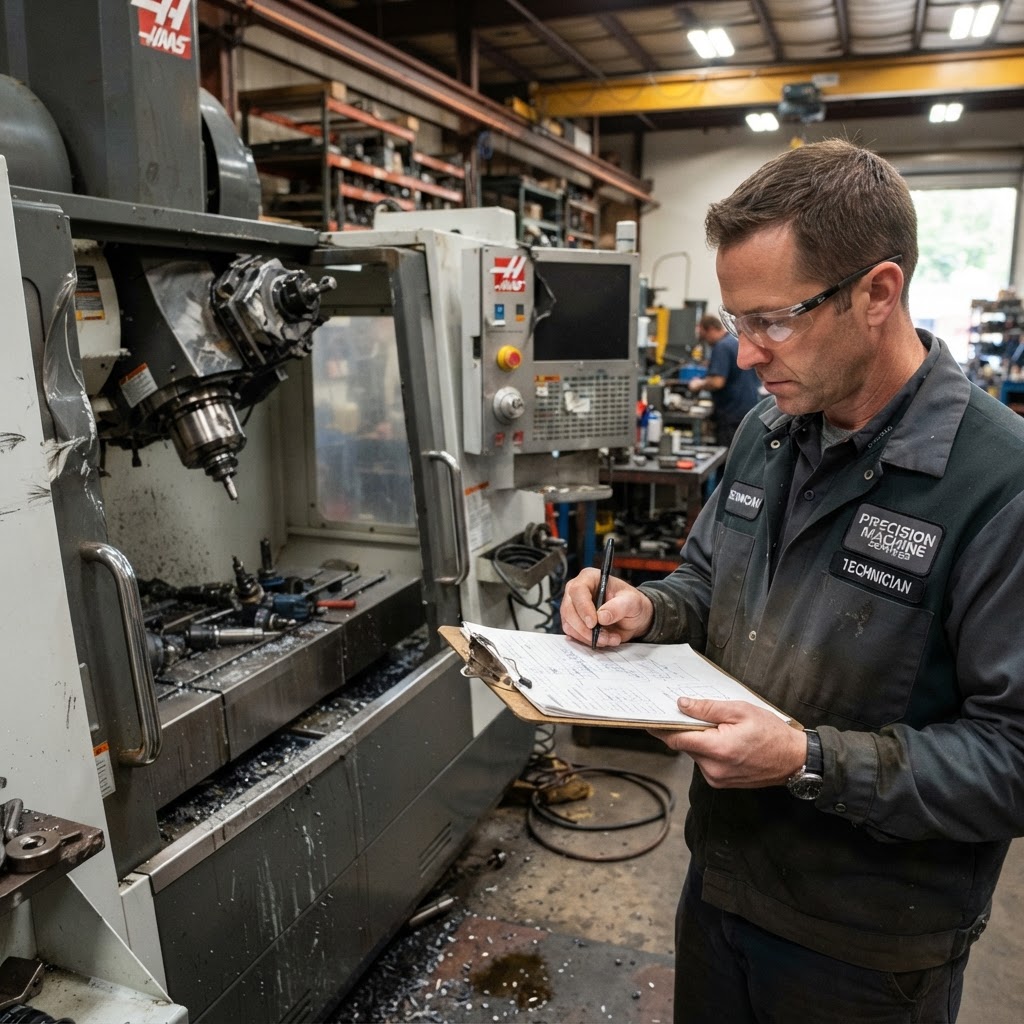
For field-correctable misalignment, In-House CNC Service technicians carry precision levels, test bars, and indicators to complete alignment diagnosis and correction on-site. We document before-and-after measurements so you have a clear record of the improvement achieved.
How In-House CNC Service Approaches This
Our lathe alignment service starts with a structured measurement protocol — not assumptions. We measure first, diagnose second, and correct third. This sequence prevents the common mistake of adjusting a machine based on symptoms alone, which can correct one parameter while making another worse.
We’ve performed lathe alignment work on manual engine lathes, CNC turning centers, and large boring mill-type lathes across manufacturing facilities in Menifee, Riverside, Temecula, and throughout Southern California. If your lathe is producing tapered or out-of-round parts, contact In-House CNC Service for an on-site alignment assessment. Also explore our preventative maintenance programs — regular alignment checks are included in our PM protocols — and our full service catalog.
Prevention: Keeping Alignment Over Time
The best way to manage lathe alignment is to include it in your regular PM schedule. A machine that’s checked for level and alignment annually — and corrected when drift is detected — maintains its accuracy far longer than one that’s only inspected when parts start failing. Small corrections made early cost far less than major realignment after significant drift has accumulated.
Contact In-House CNC Service today to schedule a lathe alignment check or discuss a preventative maintenance program for your Southern California machine shop.