How In-House CNC Service Reduces Your Downtime: Our Process
Share Post
How In-House CNC Service Reduces Your Downtime: Our Process
Why Process Matters in CNC Repair
CNC machine repair without a structured process produces inconsistent results. Technicians who approach faults without a defined diagnostic sequence guess more often, miss root causes more frequently, and replace more parts unnecessarily. The difference between a good on-site CNC repair and a poor one is rarely about raw technical knowledge — it is about process discipline. This commitment to industry excellence aligns with the standards supported by the Association for Manufacturing Technology.
In-House CNC Service has built a defined service process that applies to every call, from emergency machine-down response to scheduled preventative maintenance visits. This is what that process looks like — and why each step matters for your downtime and your budget.
Step 1: First Contact and Pre-Dispatch Intake
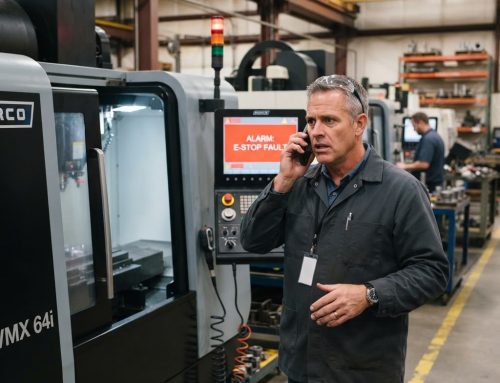
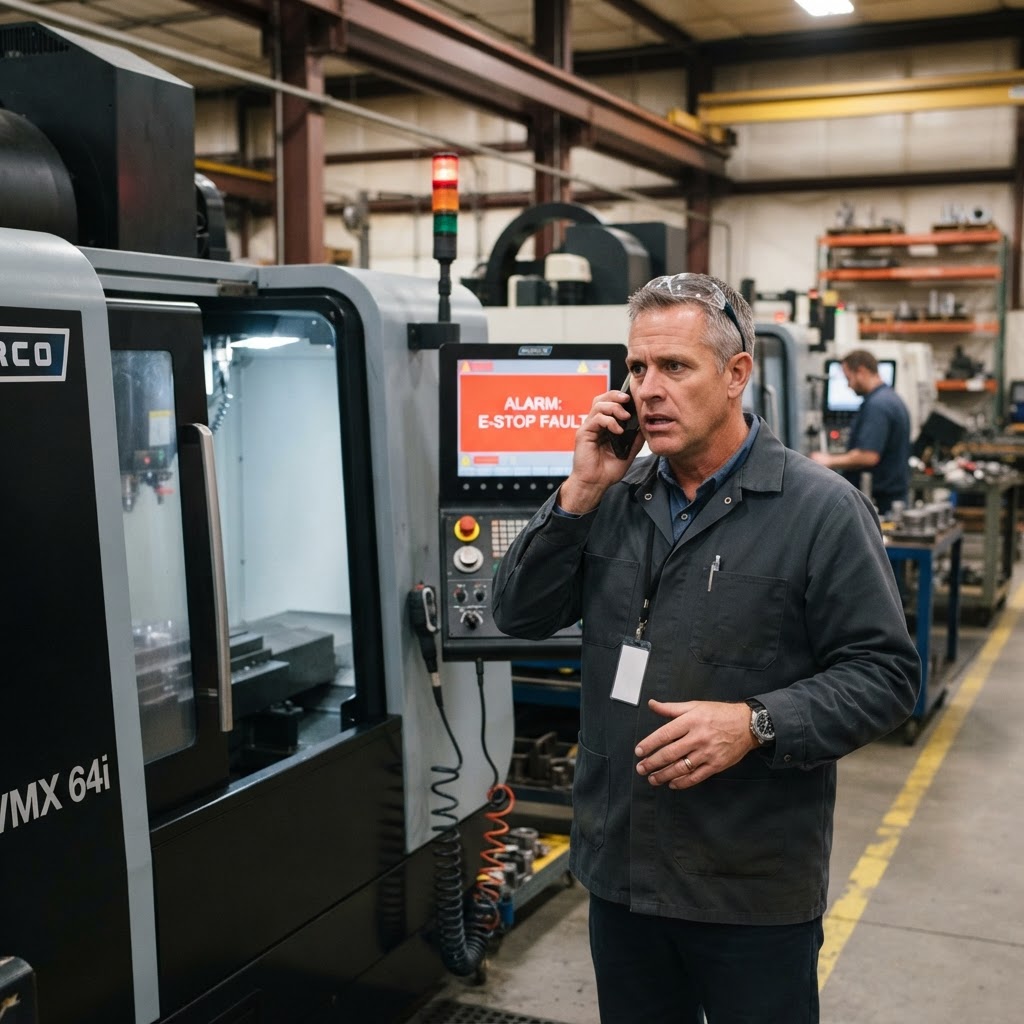
When you call, we gather the information that allows us to dispatch the right technician with the right tools for your specific situation. That means: machine make, model, and controller platform; the fault codes and alarms displayed; a description of what the machine was doing when it failed; your facility location; and the urgency level.
This intake step is not administrative overhead — it directly affects the outcome of the service call. A technician dispatched with knowledge of the fault type can arrive with appropriate diagnostic tools and likely replacement components already in the vehicle. This collapses diagnostic time and often enables same-day resolution.
Step 2: On-Site Arrival and Initial Assessment
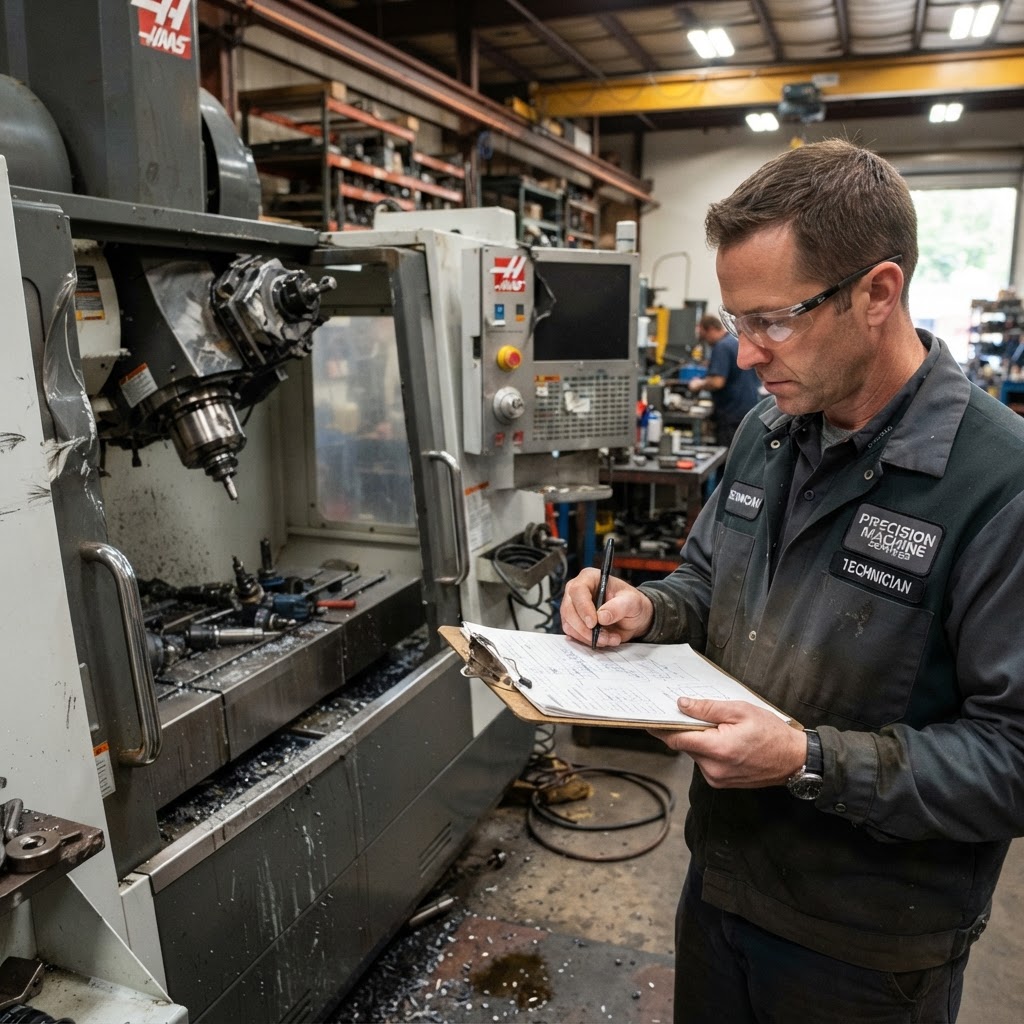
On arrival, our technician reviews the machine’s fault history log on the controller — which records every alarm the machine has generated, not just the most recent one. Patterns in that history often reveal whether the current fault is an isolated event or the culmination of a developing issue.
The technician then performs a visual inspection of the machine’s condition — coolant system, lubrication levels, way covers, electrical cabinet, and any visible mechanical components relevant to the reported fault. Many faults have visible contributing factors that a systematic initial assessment catches before the diagnostic instrumentation comes out.
Step 3: Systematic Root Cause Diagnosis
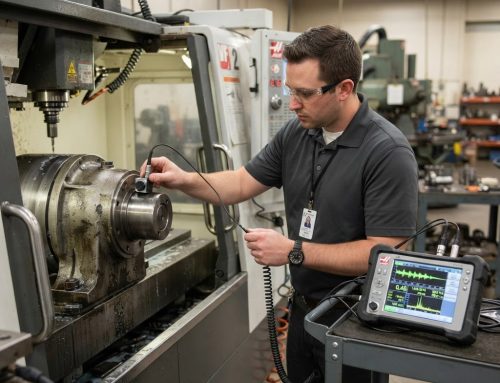
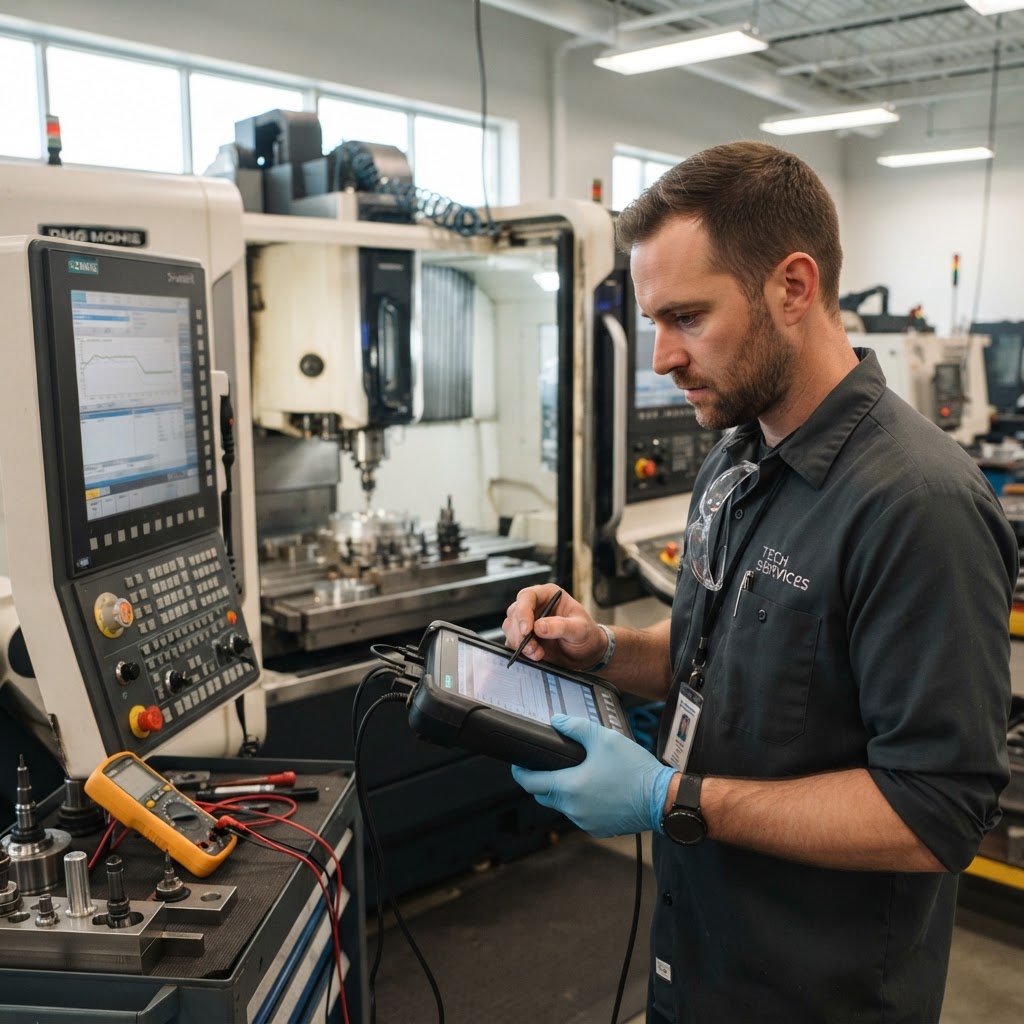
Diagnosis proceeds systematically from the most likely root cause to the least. For a servo alarm, the sequence typically covers: checking drive parameters and fault history, testing encoder signal quality, verifying power supply voltages, testing the motor under controlled conditions, and inspecting the mechanical load on the axis.
We do not replace components before diagnosing their condition. This discipline is what separates professional CNC repair from parts-swapping. Replacing a $2,000 servo drive when the actual fault is a $150 encoder cable is a failure of process that costs you real money.
Step 4: Written Findings and Quote
After completing the diagnosis, we document our findings in writing — the root cause, the components affected, and the proposed repair. We then provide a written quote for the repair that breaks out labor and parts. You review, ask questions, and approve before we touch a single component.
This step is non-negotiable. It protects you from surprises on the invoice and ensures we have the same understanding of scope. If the repair requires parts we do not have on hand, we provide the quote and discuss the sourcing timeline before proceeding.
Step 5: Repair Execution
With your approval, we execute the repair following manufacturer specifications for torque values, parameter settings, assembly sequences, and testing procedures. Where applicable, we use OEM parts or manufacturer-approved alternatives — we will tell you which and why for every component replaced.
Component replacement is followed by system-level testing — not just powered-up and declared done. We run the axis through its full range under load, verify feedback signal quality, check thermal performance, and confirm the specific fault that was reported has been resolved.
Step 6: Verification and Performance Check
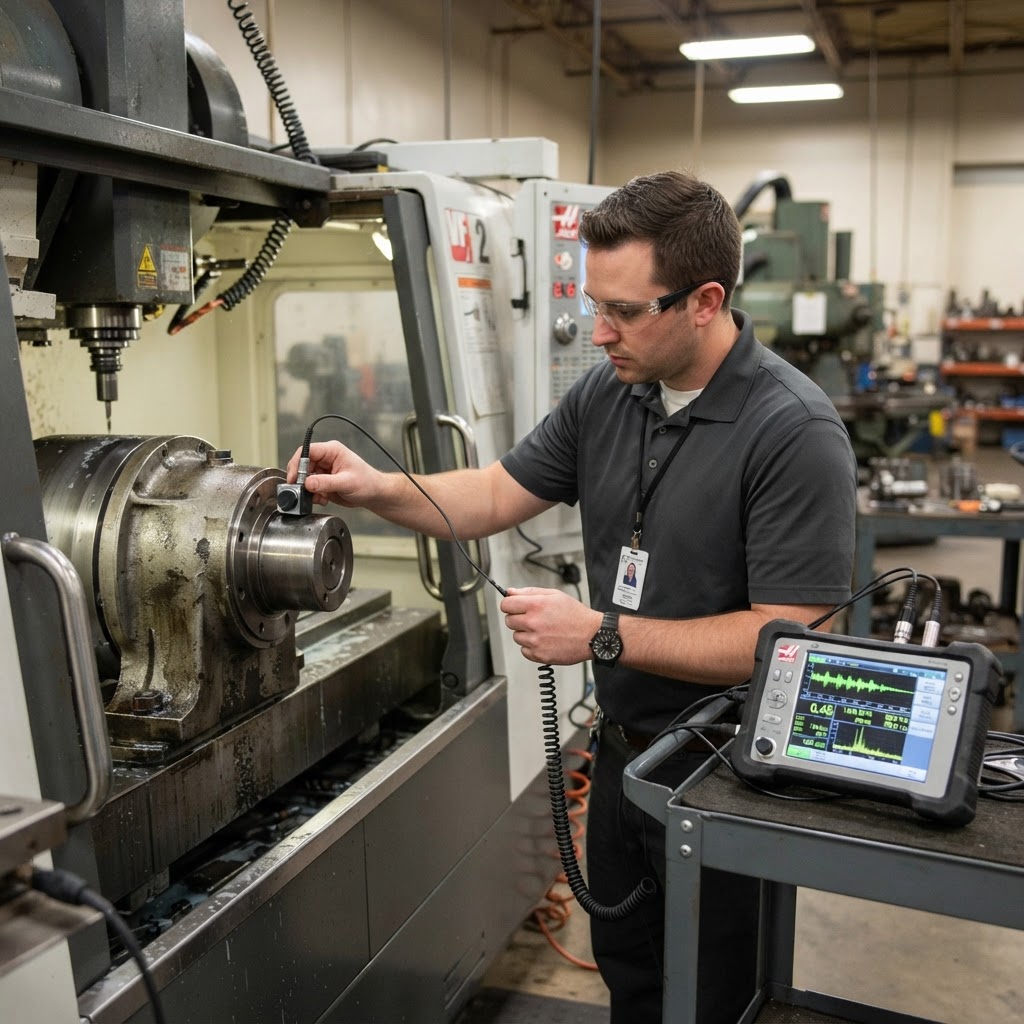
Before we consider a repair complete, the machine must demonstrate correct operation. For axis repairs, this means running commanded moves and verifying positioning accuracy. For spindle repairs, this means running the spindle through its speed range and verifying vibration levels, thermal behavior, and runout. For controller faults, this means exercising the full functionality affected by the fault.
We will not sign off on a repair that has not been verified to specification. If testing reveals a secondary issue, we document it, discuss it with you, and address it before leaving the facility.
Step 7: Written Service Report and Follow-Up Recommendations
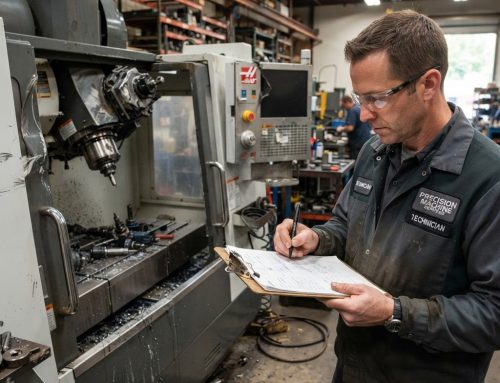
Every service call concludes with a written service report documenting: the fault found, the root cause, all components replaced, all tests performed and results, and any observations about machine condition that are relevant to future maintenance. This report is your record — keep it in the machine’s maintenance log.
We also provide specific follow-up recommendations where warranted. If the diagnostic revealed additional wear that does not require immediate action but should be addressed in the next 90 days, we document that clearly. You deserve to know the full condition of your machine, not just the fault that brought us in.
Your CNC Machine Can't Wait. Neither Can We.
In-House CNC Service dispatches certified technicians directly to your facility across Southern California. No shipping. No guesswork. Just expert repair that gets you back online. Please contact us for fast response.